Which parts do you need?
- Bi-metal heatbreak/titanium heatbreak for Prusa Mini (+)
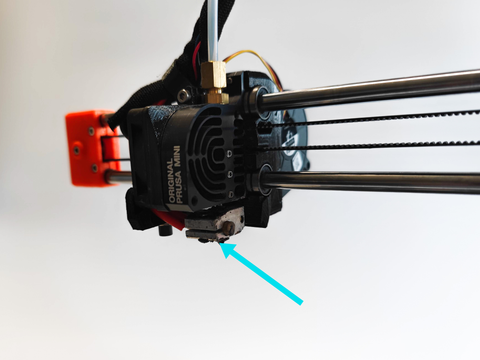
- Allen Key,1,5mm and 2.5mm
- Adjustable wrench
- Open-end wrench/nozzle removal tool (for the nozzle)
Instructions
Here are step by step instructions for the installation of the upgrade. These instructions can be used for both the bi-metal and titanium heatbreaks.
Step 1

- Remove the silicone sock, if you have one.
Step 2


- Preheat the Hotend.
- Unload the filament.
- Remove the nozzle.
Step 3


- Remove the screw shown in the first picture.
- Loosen the cable clip (green arrow).
- Remove the 2 screws shown in the 3rd picture.
- Remove the MINDA/SUPERPINDA holder, to be able to move the heatblock.
Step 4


- Untighten the 3 screws shown in the picture. (You can leave them in there to avoid loosing them.)
- Pull the heatblock and heatbreak down.
Step 5


- Make sure that the hotend is still pre-heated.
- Carefully remove the old heatbreak.
- Insert the new heatbreak, and spread the included thermal paste around it.
Step 6
1. Untighten the PTFE coupler
Step 7


- Put the included PTFE tube in the heatbreak.
- Insert the heatbreak back into the heatsink (make sure the thicker part is flush with the bottom of the heatsink).
- Tighten the grubscrews, while putting upwards pressure on the heatblock.
- Wipe of all excess thermal paste.
- Insert the nozzle.
Step 8

- Tighten the PTFE coupler.
Step 9


- Put the cable clip back in place and tighten the screw
- Put the MINDA/SUPERPINDA holder back, and tighten the screws.
Step 10

1. Calibrate the first layer again, it may be necessary to adjust the MINDA/SUPERPINDA's height
And... You've finished!


1 thought on “Prusa Mini (+) heatbreak upgrade guide”
Frederic Heise
Hi, are there any Gcode changes for this upgrade as there is one for the Binstech?